CitizenDev had released about 20 plugins on to Bubble.io Marketplace. Bubble give us a "working" SDK to develop custom elements, actions, in order to make up for the lack thereof natively in Bubble. However, a "working" SDK is what it is, and working with this SDK is a horrible development experience by 2023 standard.
- The editor is terrible. You can't even search/scroll normally.
- The
previewsection of the element is a separated, isolatediframe. Which means I have to duplicate all the code inside this section to provide a truly WYSIWYG view - jQuery only. (No reactive goodness)
Don't want to read this whole write up and just want to jump straight to the good action? Check out the POC Github Repo: https://github.com/citizendev-io/preact-bubble-plugin-poc
Approach
I have been thinking long about integrating some new JS framework into Bubble's plugin. The main problems are:
- Most new JS frameworks now require you to have a build step. You can still (probably) write React using their olden, non-JSX syntax, but I doubt it would be any better than wrestling with jQuery.
- However Babel allows building JSX code directly on Browser, using their standalone package. This may solves the problem of running React code on Browser directly, but this is going to incur a lot of overhead.
The best way forward with developing (large) component would be ditching the whole Bubble's plugin editor setup. We need to just load a prebuilt, minified element code into the Bubble's plugin editor. This is where WebComponent going to shine, because you can use React, Vue to build a totally isolated component that can be loaded with zero dependency on Bubble.
Ideas
Here are several ideas, which we will visit one-by-one when we test out the process
- Use Preact as an alternative for React. Preact support building WebComponent natively with their thin WebComponent wrapper
- Use Vite dev server to serve the JS, CSS bundle on localhost.
- In Bubble's element editor, load the JS & CSS bundle from localhost and Develop
- When publishing for livemode, upload the JS & CSS to Bubble's plugin file, then point the loader to load from those source
The setup
The goal is to setup a system that allow efficient development while still able to run actual system code.
This is an interplay between two system: Bubble.io and the dev server on our machine. Let's setup.
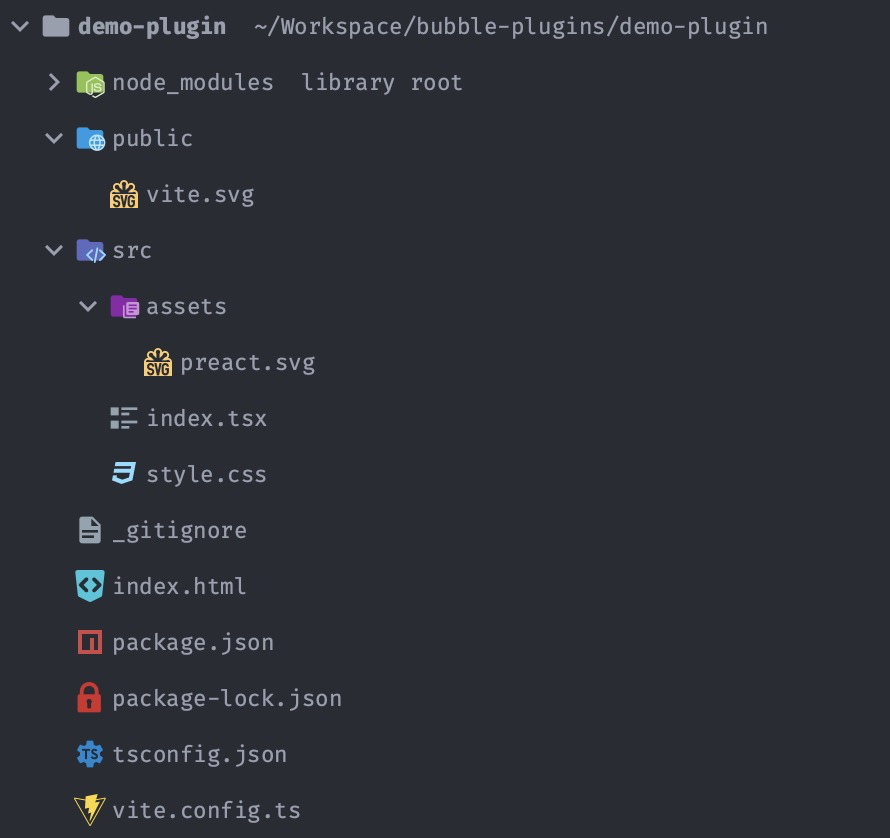
Vite + Preact
First we start with a Vite + Preact project, which is already covered by the Preact documents. Once the setup is done we get a clean project for writing Preact code.
One important thing that we need to do is setup proper TypeScript support (it's 2023). Follow this section of the document and we are golden.

This codebase give us also a functional Enzyme + Jest test suite, but for the sake of brevity in this guide we will skip using it.
Let's throw in a simple counter:
import { h, VNode } from "preact";
import { useState } from "preact/hooks";
interface BubbleProperties {
name?: string;
}
interface CounterProps {
properties?: BubbleProperties;
}
export default function Counter(props: CounterProps): VNode {
const [count, setCount] = useState(0);
return (
<div>
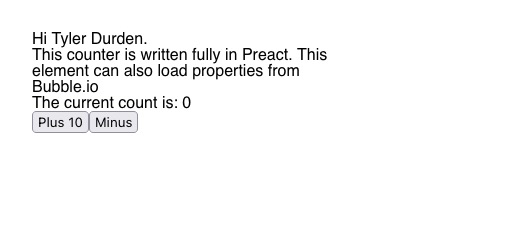
<h1>Hi {props.properties?.name ?? "anonymous"}.</h1>
<div>
This counter is written fully in Preact. This element can also load
properties from Bubble.io
<br />
The current count is: {count}
</div>
<button onClick={() => setCount(count + 10)}>Plus 10</button>
<button onClick={() => setCount(count - 1)}>Minus</button>
</div>
);
}Next step we make this codebase emit a library. This means we need to:
- Reconfigure Vite to build in library mode. Vite has a section in their document for this.
- We configure Vite to build from a
src/index.tsxentrypoint. This will be the core component code. Then we create thatsrc/index.tsxfile. - We need to remove the
"type": "module"directive inpackage.json. This will allow us to emit anindex.umd.jsfile which can be loaded safely on Browser. Read more about the UMD, ESM, CJS shenanigans here.
Vite devserver won't emit a compiled version of the src/index.tsx file. Vite's code revolve around the index.html file, with a hot reloaded connection to the JS/TS files in question. We instead ditch the Vite devserver, and run a modified script.
{
  "scripts": {
    "dev": "concurrently \"vite build --watch\" \"serve dist --cors\"",
  },
  "devDependencies": {
    "serve": "^14.0.0",
    "concurrently": "^8.0.0"
  }
}
In this script, we run the vite build command, with the --watch option so it will automatically rebuild the JS bundle. Then we run serve of the whole JS bundle.
At the end of this step, we have this working URL localhost:3000/index.umd.js
Loading code
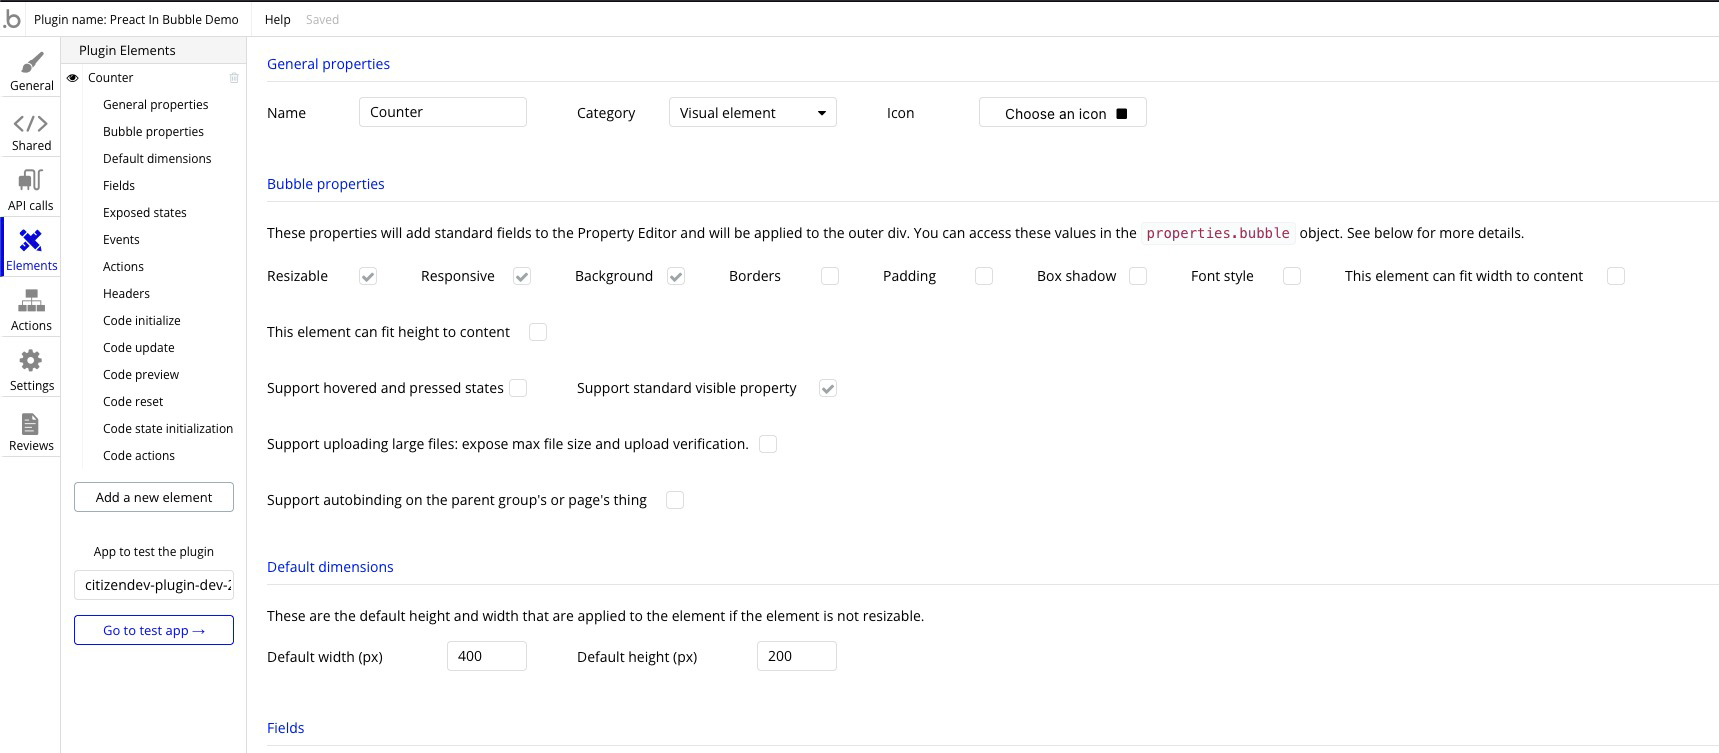
Now that we have sort of executable JS thing going, we can proceed with creating a new Bubble plugin.
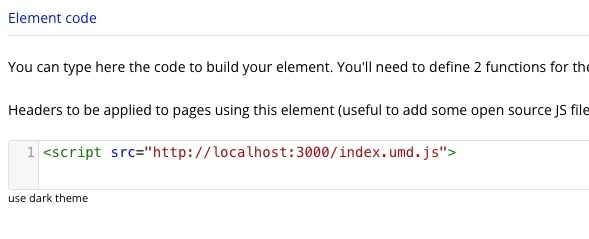
First thing we need to do is to import the code. I added a header script reference:
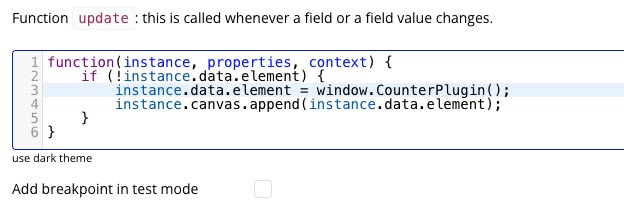
Spin up a test Bubble app, put the test element in and go:
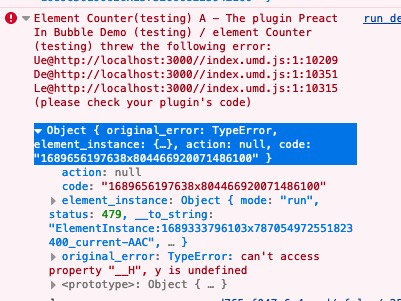
As it turns out, Preact still run its element in its own Virtual DOM. For the uninformed (me included), this mean we need to run its element inside a special environment, like its preact-habitat. But we have a better trick up our sleeve: web-component
Preact give us a nice wrapper called preact-custom-element that gives us a thinly wrapped Preact element that can be added directly as HTML tag onto the website. Configuration of this element is really simple. We only need to add a line of code to register.
import register from "preact-custom-element";

export default function Counter(props: CounterProps): VNode {
   // ...something
}
register(Counter, "custom-counter", ["properties"]);
Now we can load the element like this:
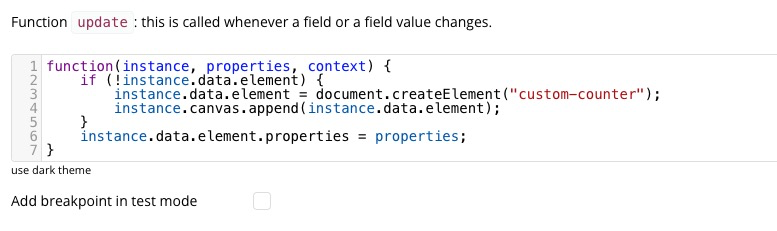
Note here we are attaching the properties sent from Bubble to the element. The Preact Web Component wrapper will ensure the element is re-rendered when we update the properties attribute.
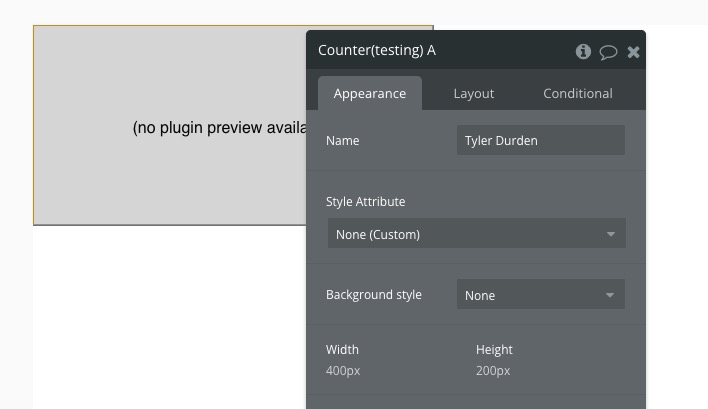
The Bubble element receive a name field:

Pass in the name field (I choose Tyler Durden), then open the preview of the test app.
Too much details?
Yeah I know this is too much word. Consider this as an excited rant. If you just want to test this approach out, check out this Github repo: https://github.com/citizendev-io/preact-bubble-plugin-poc
What's next?
- WYSIWYG. We need to be able to load the element inside
previewas well. - Setup a project template.
- Really build something out of this.